

The goal of this post is to provide a simple description of how to install Bower JS and how to use Bower JS to manage client side dependencies. The first time I tried to use Bower I had problems. Hopefully this tutorial will provide others a complete resource to navigate around the issues that I found.
Assumptions:
- You are a Windows developer
- You will use the Windows Command Prompt instead of Bash
- You have little or no knowledge of Node.js
- You have little or no knowledge of GIT
1. Download and install Node.js
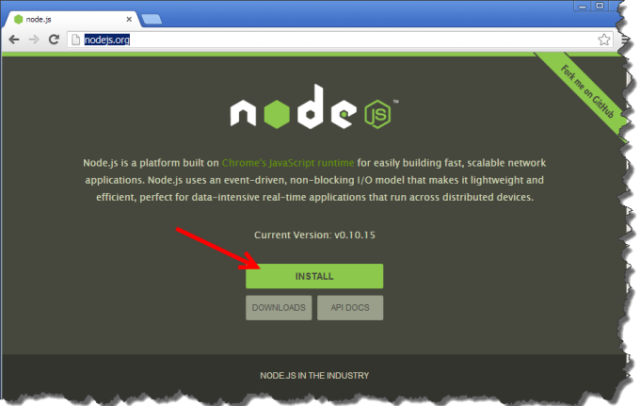
To run Bower you will need to download and install Node.js. Go to http://nodejs.org/ website and select the “install” button (see image below). This should download the version of Node.js you need. For me, when I clicked the “install” the version for Windows 64-bit downloaded. Once Node.js is download, execute the file.
I will not go thought the steps for installing Node.js; it’s very straight forward. During the install I used all default options.
2. Confirm Node.js is installed
When Node.js installation has completed we need to confirm it was installed successfully. Open a Windows Command Prompt and type “Node” and [enter]. You should get prompted with a “>”.
(If you previously had Windows Command Prompt open, you will need to close it and reopen it. The reason is that Node will be added to Environment Variable Path. If the Command Prompt is open when you install Node, it will not have the new Node Path.)

Now at the prompt type something like “2 + 2″ and [enter]. You should get a result. I got back 4. Now we have confirmed that Node.js is installed correctly. You can quit Node.js by using the keyboard and typing [ctrl]+C twice.

3. Create Folder Structure
Create the following folder structure.
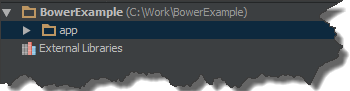
(In the image above, ignore “External Libraries”. This is part of the WebStorm IDE)
4. Install Bower
The primary reason to use Bower is so that you do not have to manage client side dependencies (css, JavaScript, and etc). Here we will install Bower so that we can use it latter to manage dependencies.
Use Node Package Manger (npm) to install Bower. Since we are using the “-g” (global) switch we can install Bower from any directory.
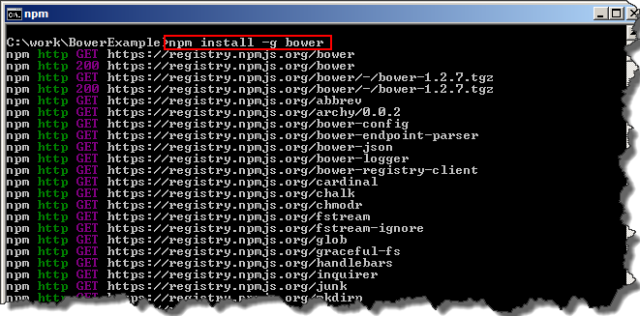
(The npm statement is case sensitive.)
5. Test Bower is Installed
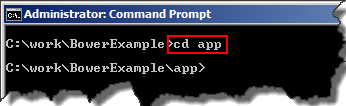
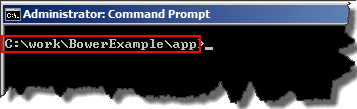
Since we will want to install the dependencies in the “app” direction, go ahead and navigate to the “app” directory”
Lets do a Bower search for jQuery. Remember, it is case sensitive
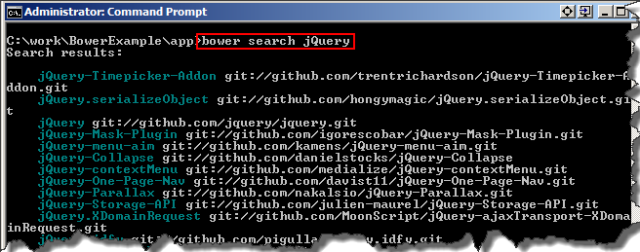
There is a ton of jQuery libraries. But that’s okay.
6. Install Dependencies (jQuery & Underscore)
In the command window enter “bower install jQuery” and press [Enter]. Again remember case sentitivity.
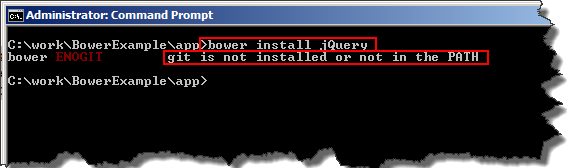
You may receive an error if you do not have GIT installed.
Install GIT
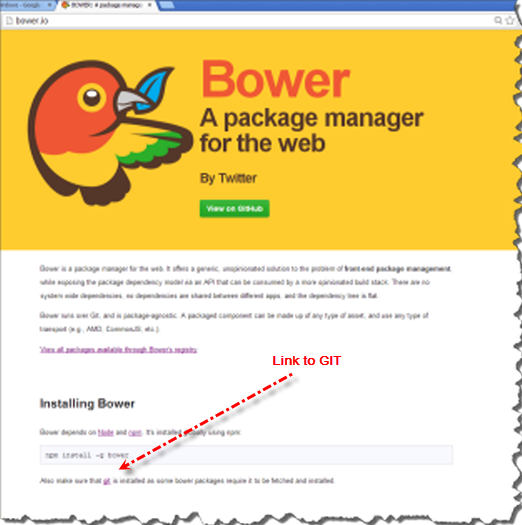
From Bower’s website (bower.io) you can get to GIT’s (git-scm.com) website to down GIT.
From GIT’s (git-scm.com) download GIT
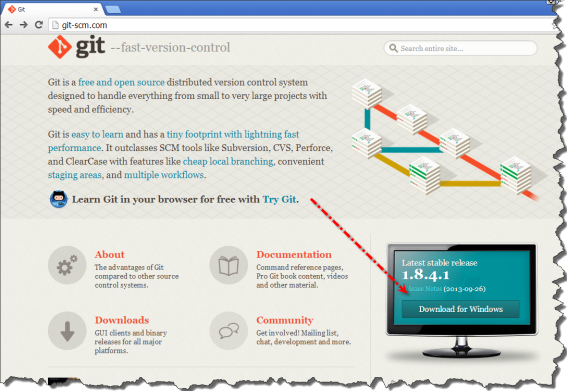
When I installed GIT, I used all the defaults. But a key option that needs to be select is to “Run Git from the Windows Command Prompt”. This will add the PATH variable for Git.

8.Install Dependencies (jQuery & Underscore) – Again
Important – Close the current Command Prompt. If you attempt to install jQUery again with the current command prompt you will get the same error.
Open a new Command Prompt and navigate to the “app” directory that we created previously.
Install jQuery using Bower. Remember, it’s case sensitive.

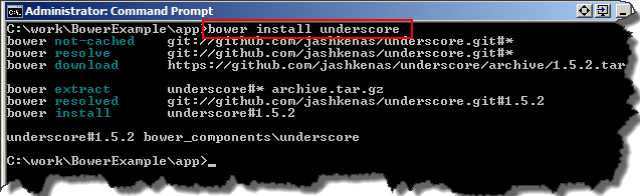
Now install Underscore
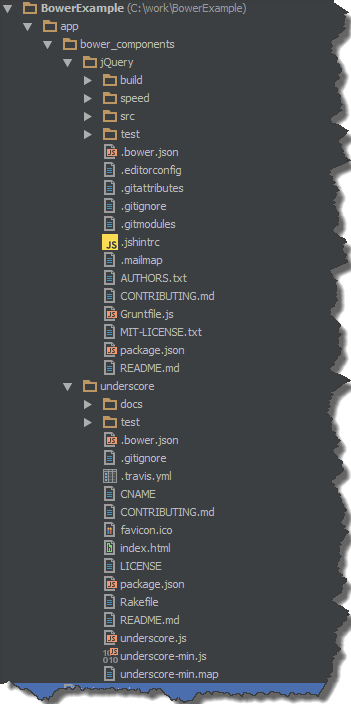
9. Confirm Dependencies
There should be a new directory create by Bower call “bower_components” this is where jQuery and Underscore should have been installed at.
10. Finished
No you can go out and create your application without having to worry maintaining client side dependencies.
I hope this helped.